November 9, 2022
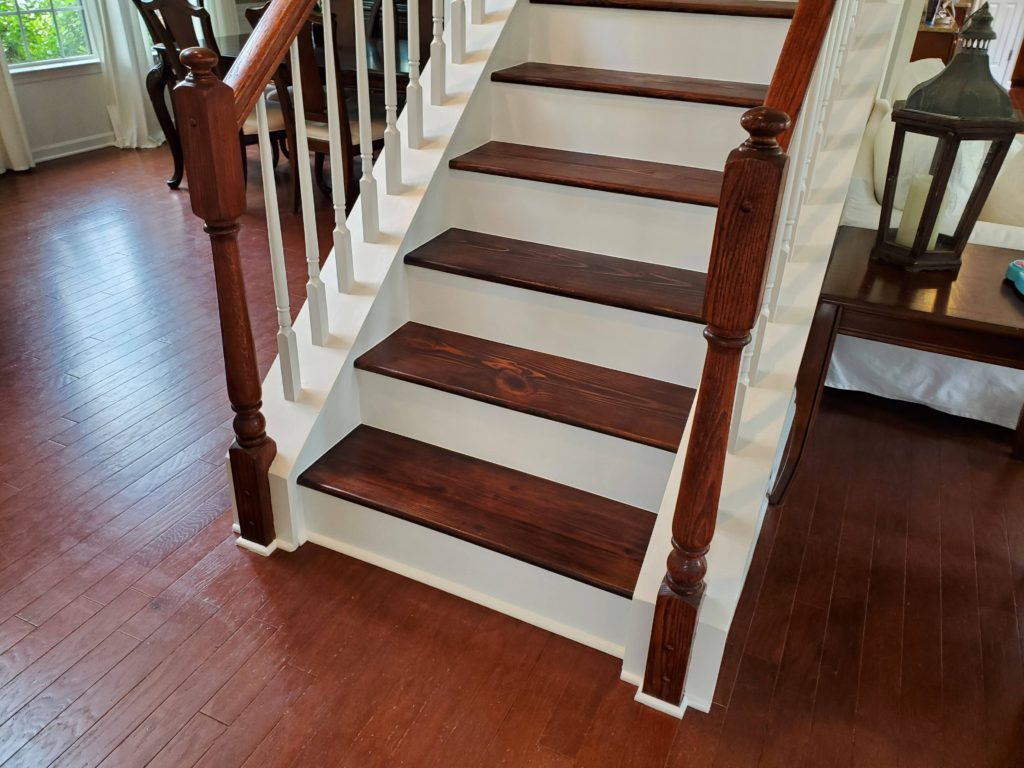
Last year, I decided to rip out our dirty, worn carpet on the stairs and upgrade to wooden stairs. After getting a few quotes from contractors that were way out of budget, I decided that this was a project that I was going to have to tackle myself and in the end, it only cost me around $100!
While this project was a lot of hard work, I absolutely love how it turned out! Not only are these wooden stairs a lot more sanitary and easier to clean than carpet (just a quick dusting is all they need) they also bring so much value to our home. Over a year later with two adults, young children, and a dog and cat, and they are still holding up great!
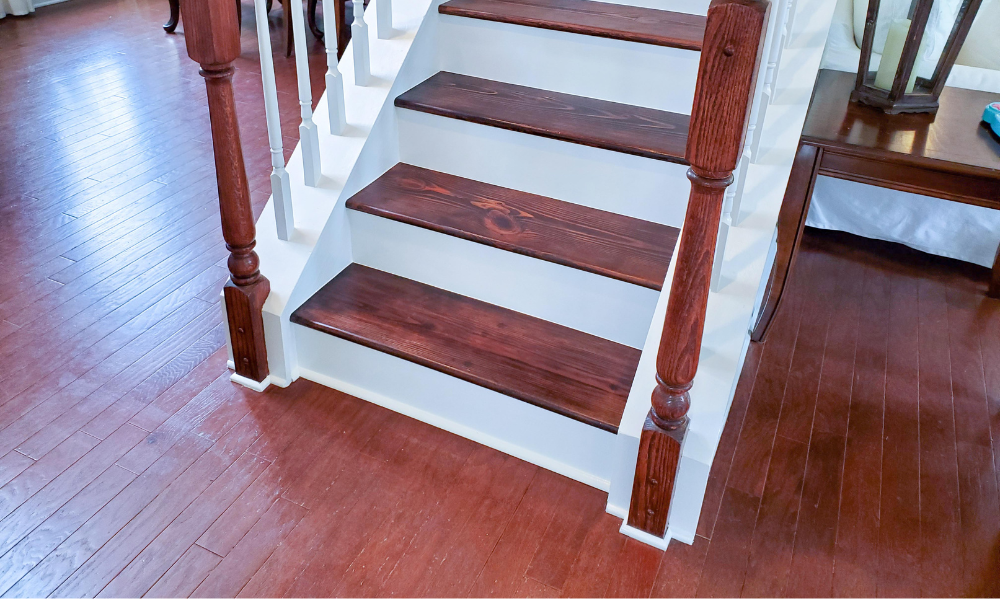
Tools Used:
- Orbital Sander
- Sanding Discs (80-grit and 120-grit)
- Sanding Block (I just wrapped a wood block with sandpaper)
- Shop Vac for dust control (optional)
- Gloves (this project is hard on the hands)
- Hammer
- Pliers, 5-in-one tool, flat-head screwdriver to remove carpet staples
- Utility knife to cut carpet
- Jigsaw or table saw to cut riser boards
Supplies Used:
- Latex caulk
- Liquid Nails
- Wood Filler
- Water-based Polyurethane
- Measuring Tape
- Luan plywood for risers
- Quarter round shoe moulding
- Pre-stain wood conditioner
- Stain (I used Varathane Red Mahogany)
- Foam brushes
- PPE – dust mask, hearing protection, and safety glasses
IMPORTANT! Before you dive into ripping out your carpet, check to see what is under there! I was fortunate that my builder decided to use rounded pine treads under the carpet. Some builders only use plywood or composite wood. If you do not have solid wood treads underneath then you will have to add your own treads (as of the the date of this post pine treads are running about $15 per tread).
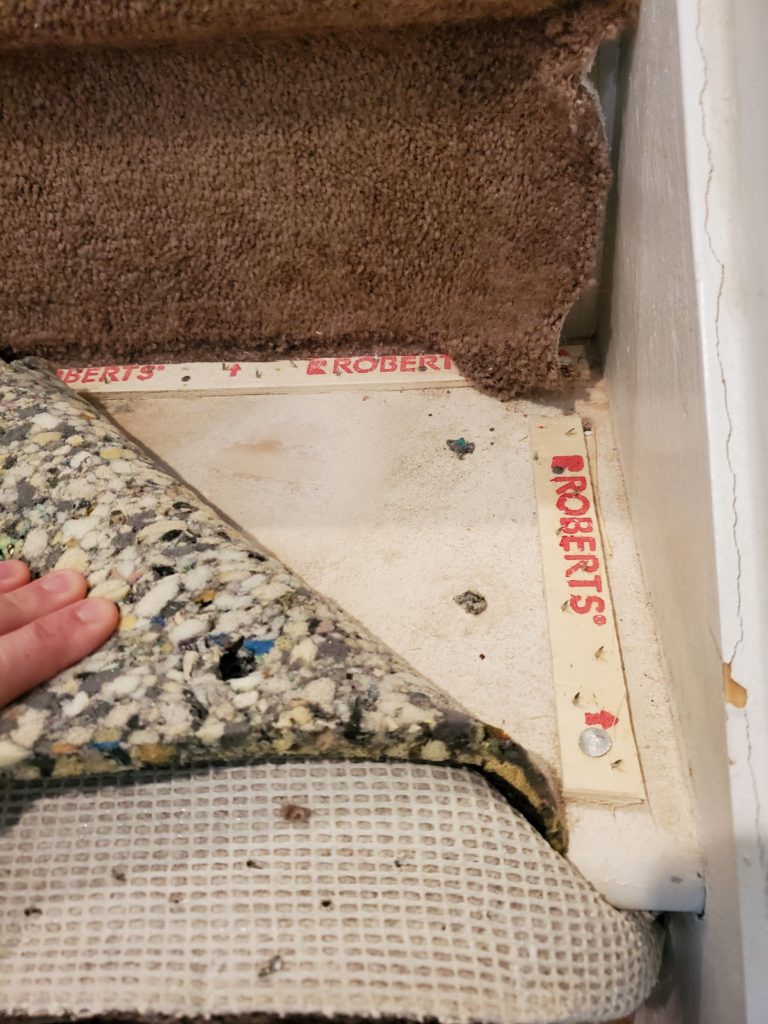
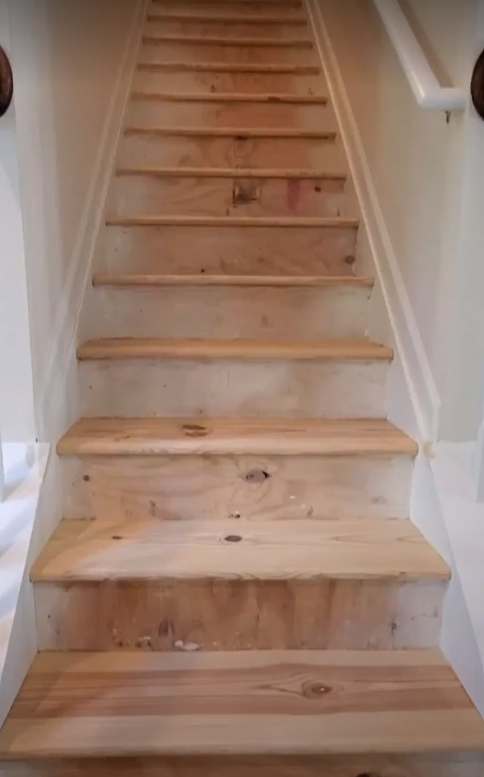
I first peeled back the carpet on my very top step and was pleasantly surprised to see pine treads underneath. Mine were covered in white overspray paint from my builder. I then tucked it back up until I was ready with my plan of action.
Removing the Old Carpet
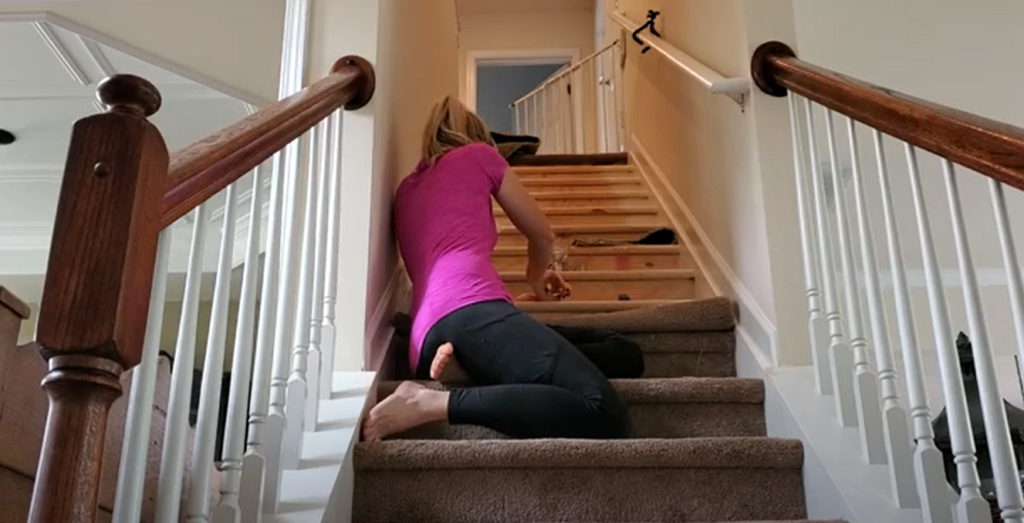
Time for carpet ripping day! I made sure that I could accomplish this task while my kids were at school because you will have exposed tack strips, nails, and staples that you will need to remove immediately. I started at the top step and worked my way down. Pulling and folding the carpet as I went down. I also removed the tack strips, nails and staples as I went down step by step because it was safer for my family (and me) and also more comfortable to sit on carpet while removing them. I used various tools to pry them up and remove them (hammer, 5-in-one tool, pliers, flat head screwdriver). The staples and nails I collected in a plastic cup as I went along. The tack strips I collected in a bag so I wouldn’t miss any and later step on them (ouch!).
Sanding the Pine Treads
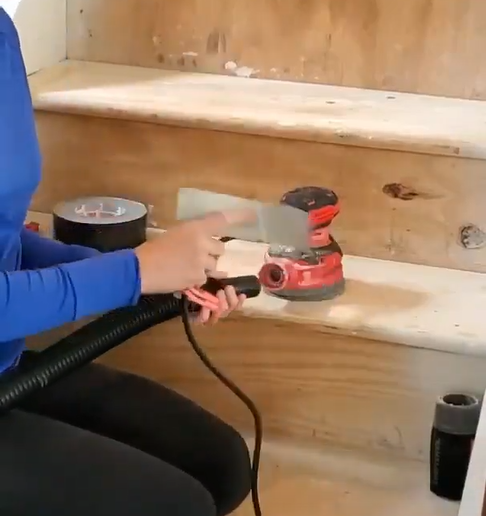
Prior to sanding the pine treads, I filled all of the holes leftover from the nails and staples (plus any other marks) with stainable wood filler. I then used my orbital sander and sanded each step. I started with 80-grit sandpaper to smooth every step out and remove the paint that my builder left. To finish, I went over everything with a 120-grit. NOTE: it is recommended to finish with a 220-grit for an even wood finish but I was so over sanding at this point I decided to roll the dice and skip that. My orbital sander wouldn’t fit in the square corners so I had to use a sanding block to get in there. I just used a block of wood wrapped in sandpaper. I highly recommend wearing a dust mask, hearing protection, and dust goggles.
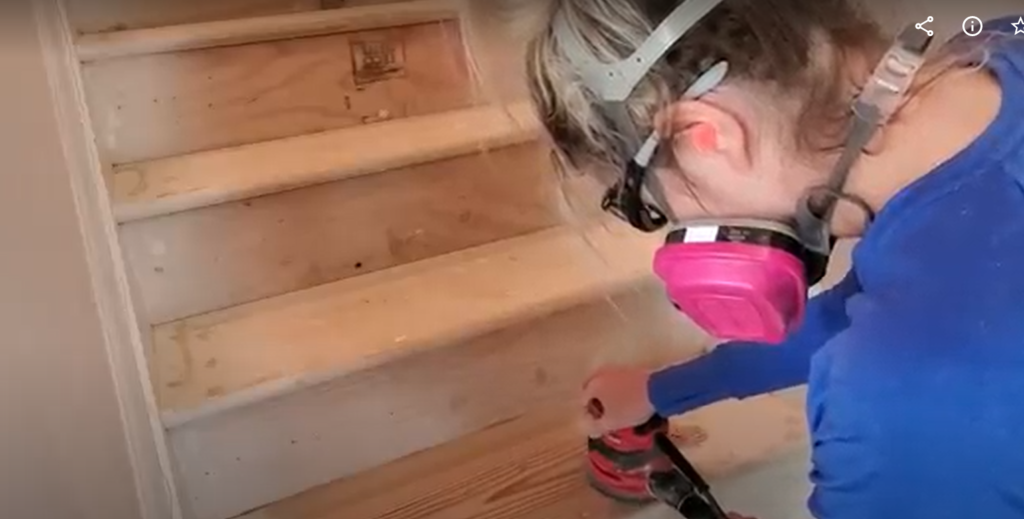
TIP: I removed the dust collector on my orbital sander and attached my shop vac hose with some duct tape. I ran the shop vac while sanding to diminish the amount of dust created. Sanding inside always makes a huge mess!
After sanding was finished I felt like the worst was over! I vacuumed all of the stairs (and everywhere in the house…sigh) and wiped them down with a tack cloth to prepare for staining.
Staining and Sealing the Treads
First, I applied a pre-stain conditioner because Pine is very spongey and the pre-stain prevents the stain from getting blotchy. NOTE: I applied the pre-stain and stain on every other step since we had to be able to use the stairs while the stain was curing/drying. Apply the pre-stain and let it sit for about 15 minutes then immediately apply the stain over it. I then let it cure for a day or so before walking on it (can take oil-based stains up to 72 hours to fully cure). Then I repeated the process on the other steps. TIP: I put painters tape next to the steps that we could step on so we would know which ones to use while the others were drying.
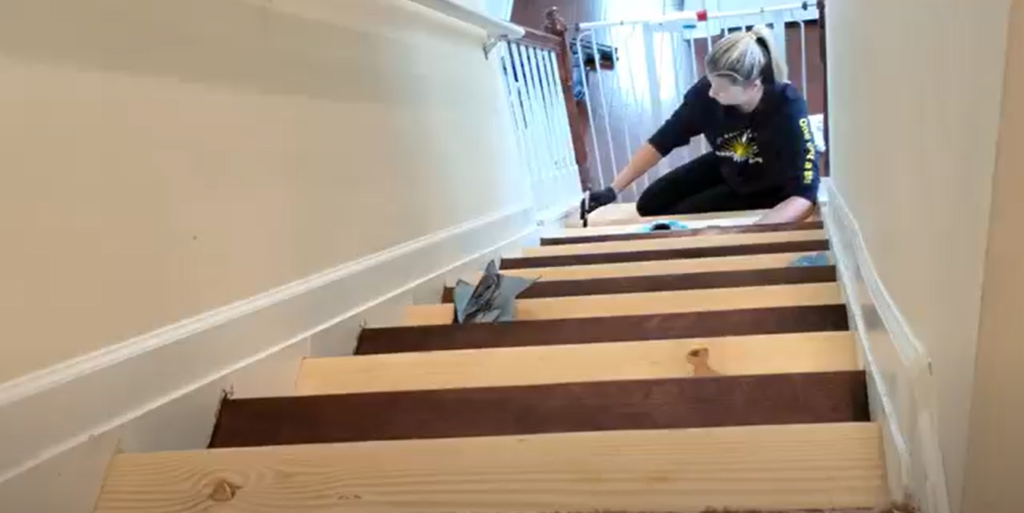
Next, after waiting a full 72 hours for the stain to fully dry, I applied a water-based polyurethane in satin finish. This is my favorite one here. It’s pricey but it dries fast, always has a nice finish, and has held up really well. I did 3 coats to make sure it held up to the wear and tear that stairs can suffer. You can lightly sand in between polyurethane coats with a fine sandpaper (22o-gauge) if necessary but I didn’t need to.
Adding Risers
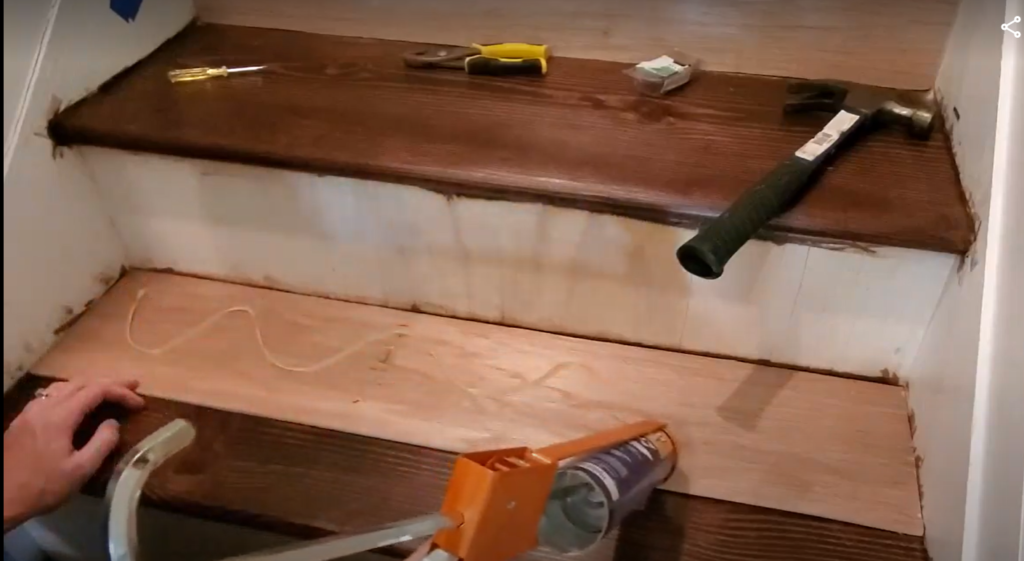
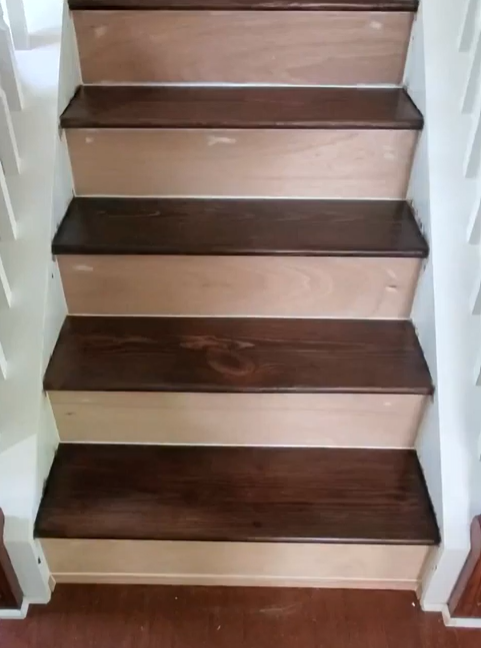
The risers that my builder used were low quality plywood (full of cracks, knots, etc.). I decided that covering them up with fresh wood would be easier than trying to fill and sand. You can buy risers at the hardware store but at 3/4″ they were too thick for my stairs. I’ve seen some people use beadboard which is thin but I wanted a solid look. Keep in mind that you must keep your stairs up to building codes! The minimum tread depth (depth from riser to the end or “nose” of the tread) needed to be 10 inches. In order to stay in compliance with code I needed my riser to be less than 1/4″ thick. I used thin, luan plywood sheets and ripped them down with a jigsaw. A table saw would have worked better but I didn’t have one at the time. Some local hardware stores will cut wood for you.
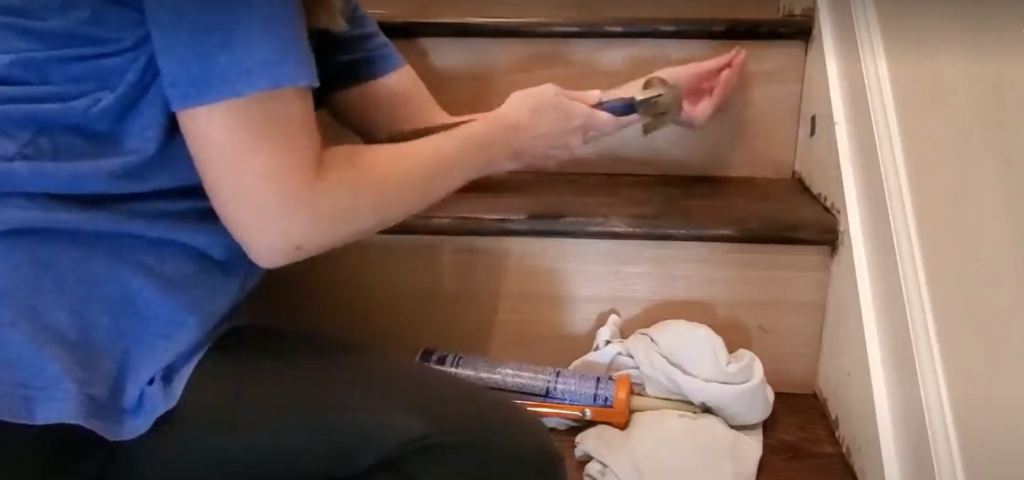
Once the risers were cut, I glued them over the existing plywood with liquid nails. I then added about 2 small brad nails on either side to hold them in place. The liquid nails is very strong and the caulk will add even more strength so the brad nails were really almost overkill but it gave me peace of mind to know they would stay put to dry and it’s really simple to do with just a hammer, 16 or 18-gauge brads, and a nail punch. You could also use a brad nailer if you have one but the old fashioned way is just as good!
Caulking
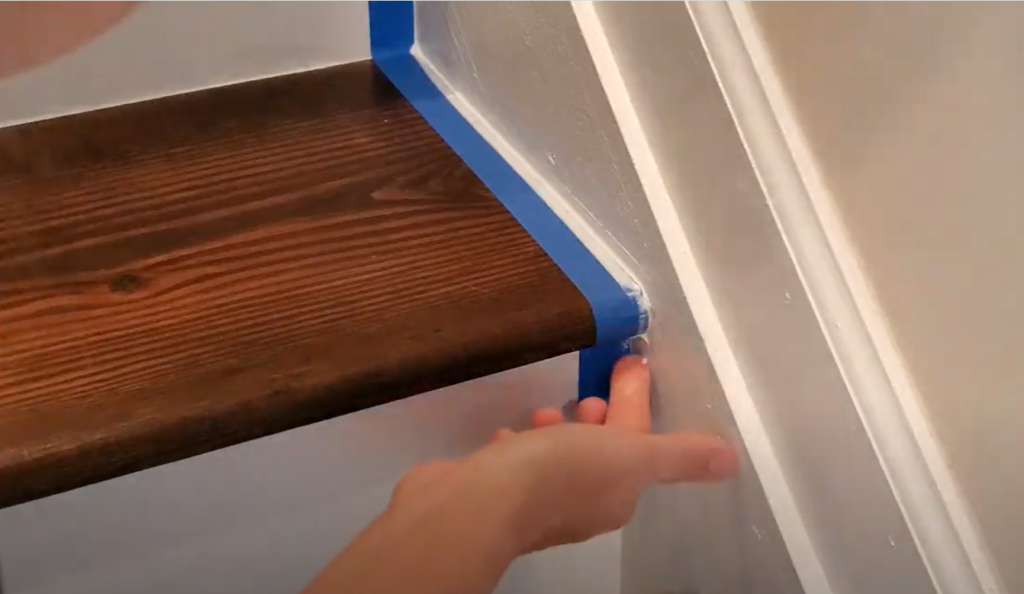
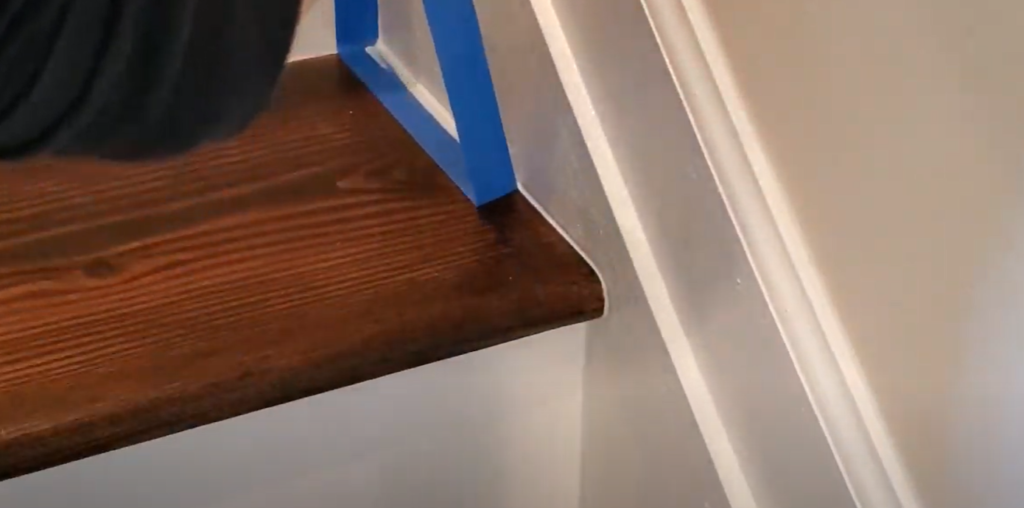
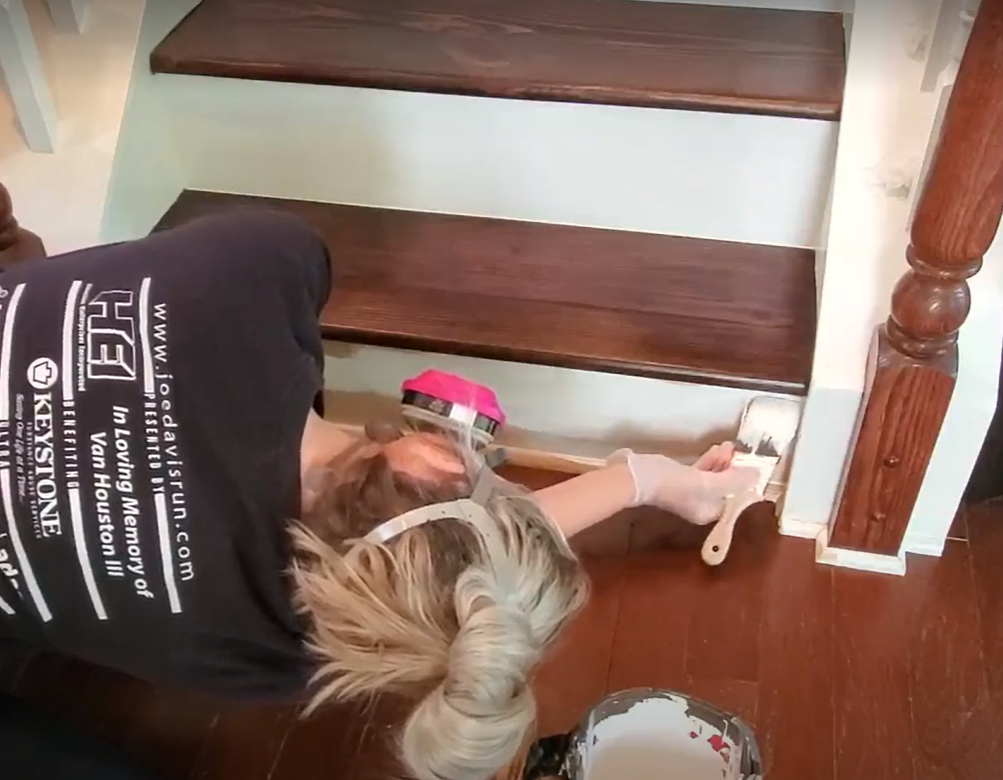
I used white latex caulk around all four sides of each riser to fill any gaps and for a professional, smooth look. I also caulked the end of each tread where it meets the wall and it really made a HUGE difference in how these stairs looked. Caulking is super important to get that perfect, pro look! IMPORTANT TIP: When caulking next to the stained tread I used painters tape to get a crisp, straight line.
I also added quarter round shoe moulding to the base of the first step to match the moulding that my builder used. I used a miter saw to cut my pieces but you could use a miter box or possibly miter shears although I personally have not tried either yet.
Painting
After caulking, I painted all of my risers the same white that my builder used on the rest of our trim (Sherwin Williams Extra White in Semi-Gloss). NOTE: In hindsight, it might have been faster to paint the risers and shoe moulding before adding them to the stairs so I wouldn’t have to do all of that edging (you can caulk over the paint).
Second Floor Transition
I got lucky again on the transition to the second floor. My builder used a small piece (the nose of a tread) level with the second floor. There was also about a 1/4″ gap between this piece and the second floor plywood. We have carpet installed up there so I cut the carpet with a utility knife and left just enough to so that I could tuck it behind the tread nose using a 5-in-one tool and a hammer. I also added some of the leftover tack strips I had from the stairs to help grip the carpet but I’m not sure if that was necessary.
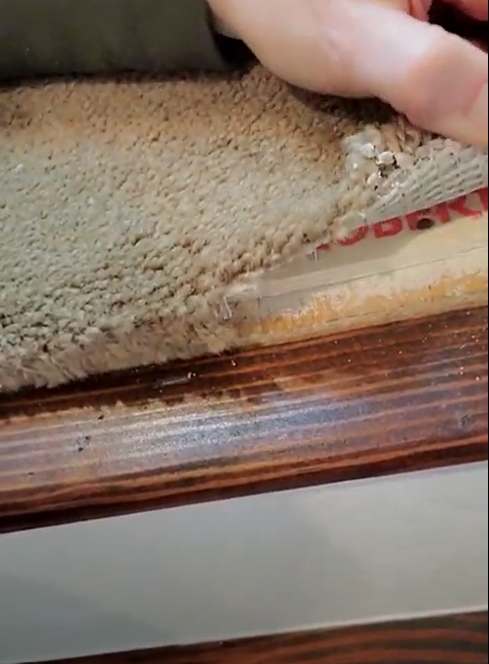
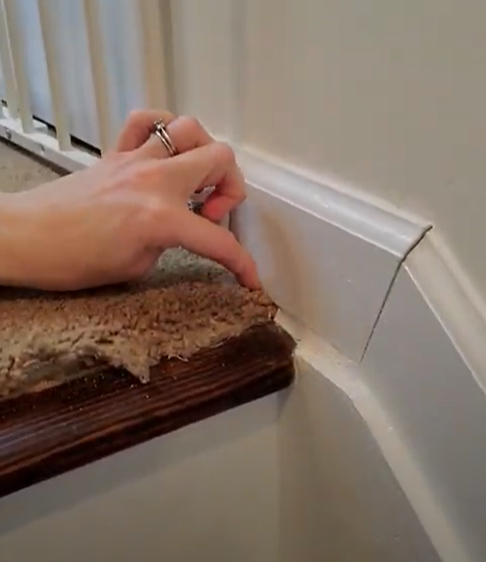
My builder left a gap between the baseboards and plywood flooring for the carpet to be tucked in so I re-tucked it back under there after cutting and then tucked it behind the top tread nose.
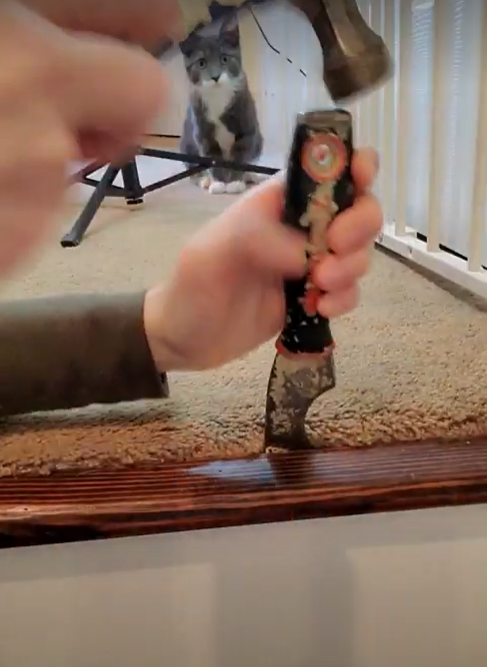
Ignore our cat in the background, who will later destroy all of this carpet that I’m so diligently tucking in…
Finally finished! This was a lot of hard work but I’m still so glad I decided to go for it! They still look perfect a year and a half later! Not to mention, they are so much easier to keep clean (just need a quick swiffer dusting)! What do you think?
*This post contains affiliate links, so I may earn a small commission when you make a purchase through links on my site at no additional cost to you.

