Want to know the most budget-friendly way to DIY upgrade your kitchen island? This is the simple tutorial for you to take your kitchen island from builder-grade to custom made!
My builder grade kitchen island really brought down the whole kitchen aesthetic. The faux wood panel on the side that clashed with our wood floors bothered me for years! Even though I was nervous to start ripping apart our newish cabinets I am so glad I went for it! This simple makeover completely upgraded the feel of the whole kitchen!
If you’re on the fence about touching your cabinetry I’m here to encourage you to GO FOR IT! I’m so glad I did! Keep reading and I will show you exactly how I transformed my boring kitchen island and so can you!
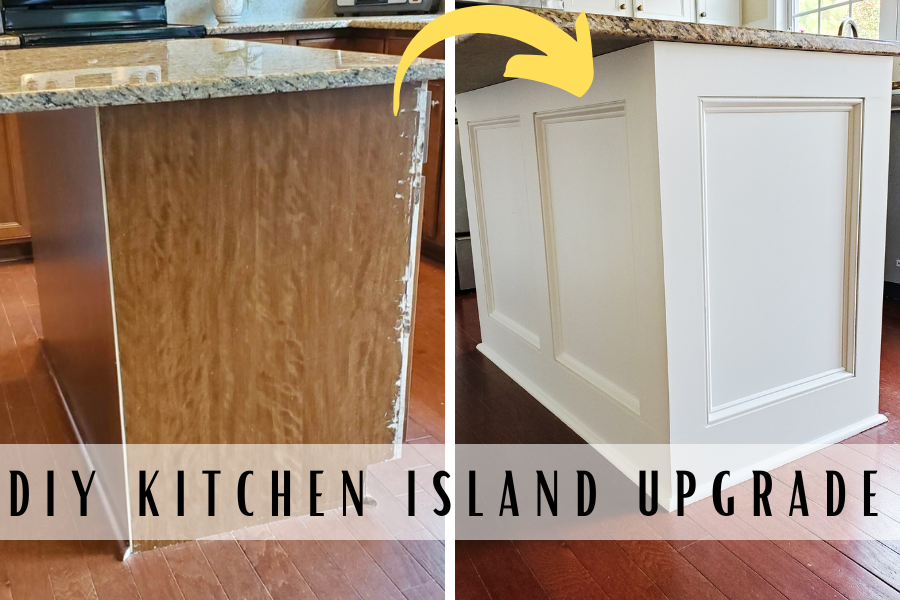
Tools and Supplies:
- painter’s tool
- 1×6 boards for bottom
- 1×4 boards for the top and verticals
- base cap moulding (aka picture frame moulding)
- shoe moulding
- brad nails
- hammer (or brad nailer if you have one)
- nail punch (if not using a nail gun)
- oscillating tool
- orbital sander
- wood filler
- latex caulk
- primer
- cabinet paint (I used Sherwin Williams Emerald Urethane; Satin-Sheen; Color: Alabaster)
Deconstruction
The first step is removing the decorative moulding from your builder grade kitchen island so that it is a blank slate and smooth all the way around and top to bottom. For mine, I removed the corner moulding pieces on the sides and the shoe moulding around the bottom. The mouldings were just secured on mine with brad nails so they were pretty easy to pull out with my painter’s tool. A few brad nails in the shoe moulding were tough and required some pliers and muscle.
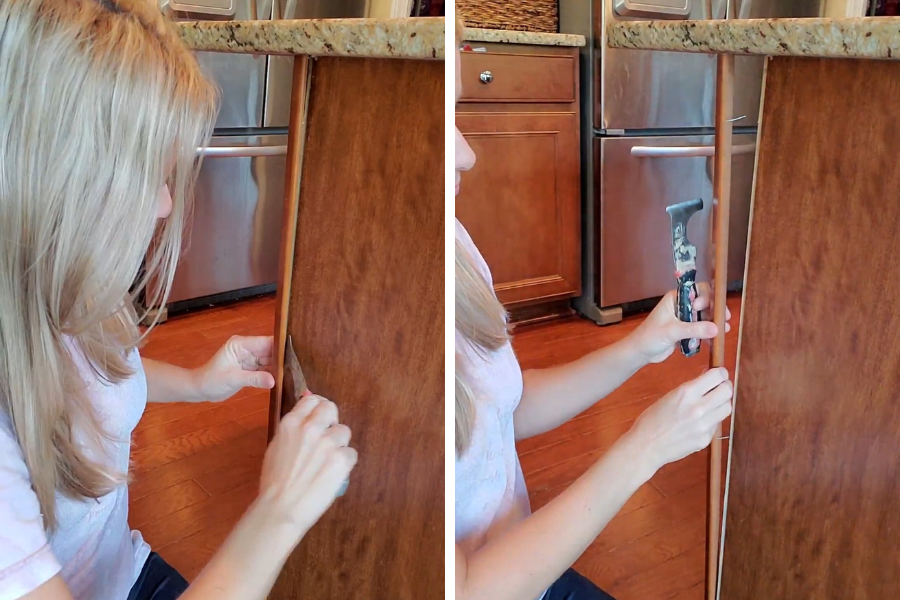
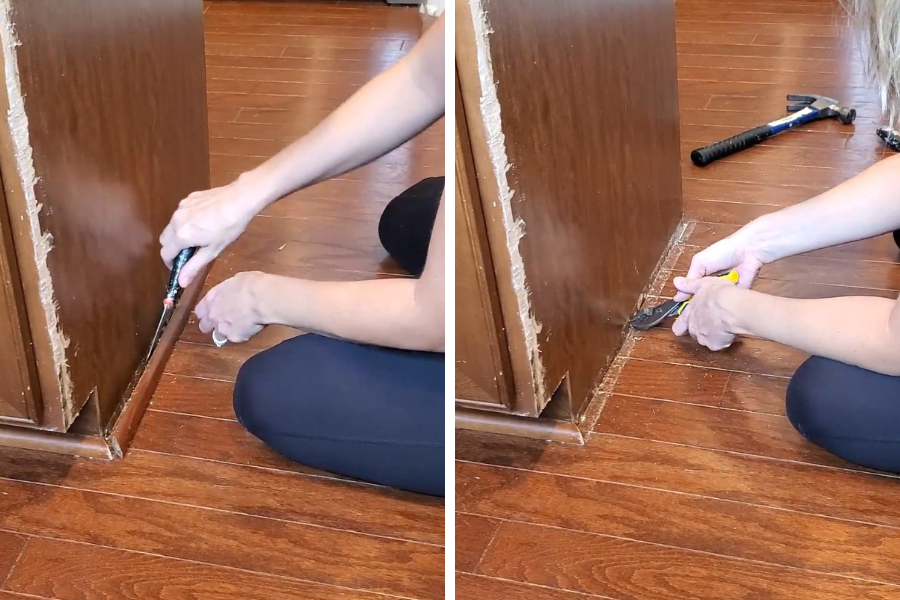
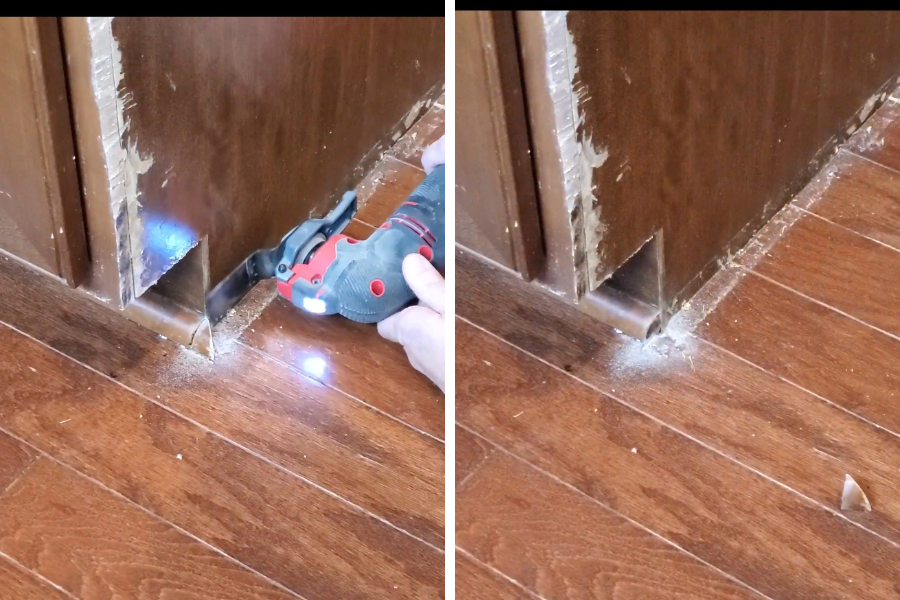
If your kitchen island has a “lip” or “overhang” on the front face like mine did you have two options (see image below). You can either cut it off or you can measure the thickness and add a thin plywood or MDF board of the same thickness to the side so it will all be flush. I chose to cut it off with an oscillating tool instead of trying to find a perfectly thick board to match. Plus, I didn’t want to have to worry about cutting around the electrical outlet.
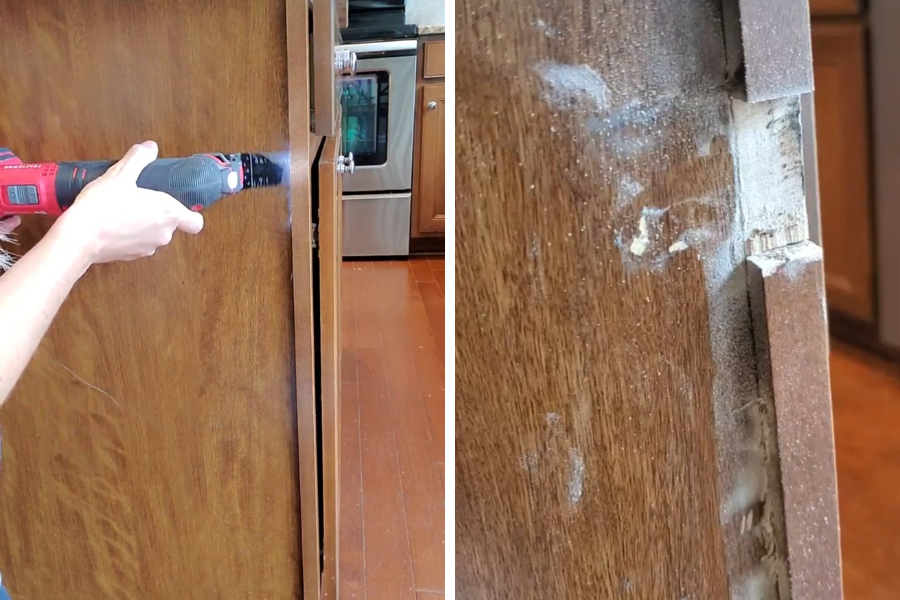
I don’t know what kind of composite wood and glue they make these cabinets out of these days but it was TOUGH! I tried using a jigsaw too but the oscillating tool worked the best. It was slow and loud but I got through it! Don’t worry about it being perfect. You will eventually be using wood filler to smooth it all out after you get your boards up.
If your island has a toe kick you can either leave it or cover it up. I chose to leave mine. I also left the shoe moulding underneath the toe kick in place and just used my oscillating tool to square off the ends (see photo below).
Adding the Trim
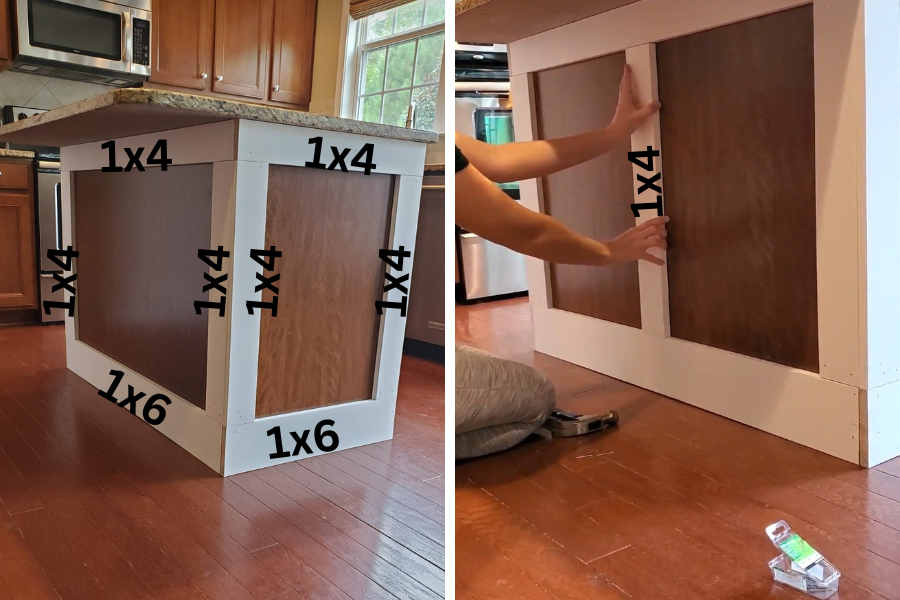
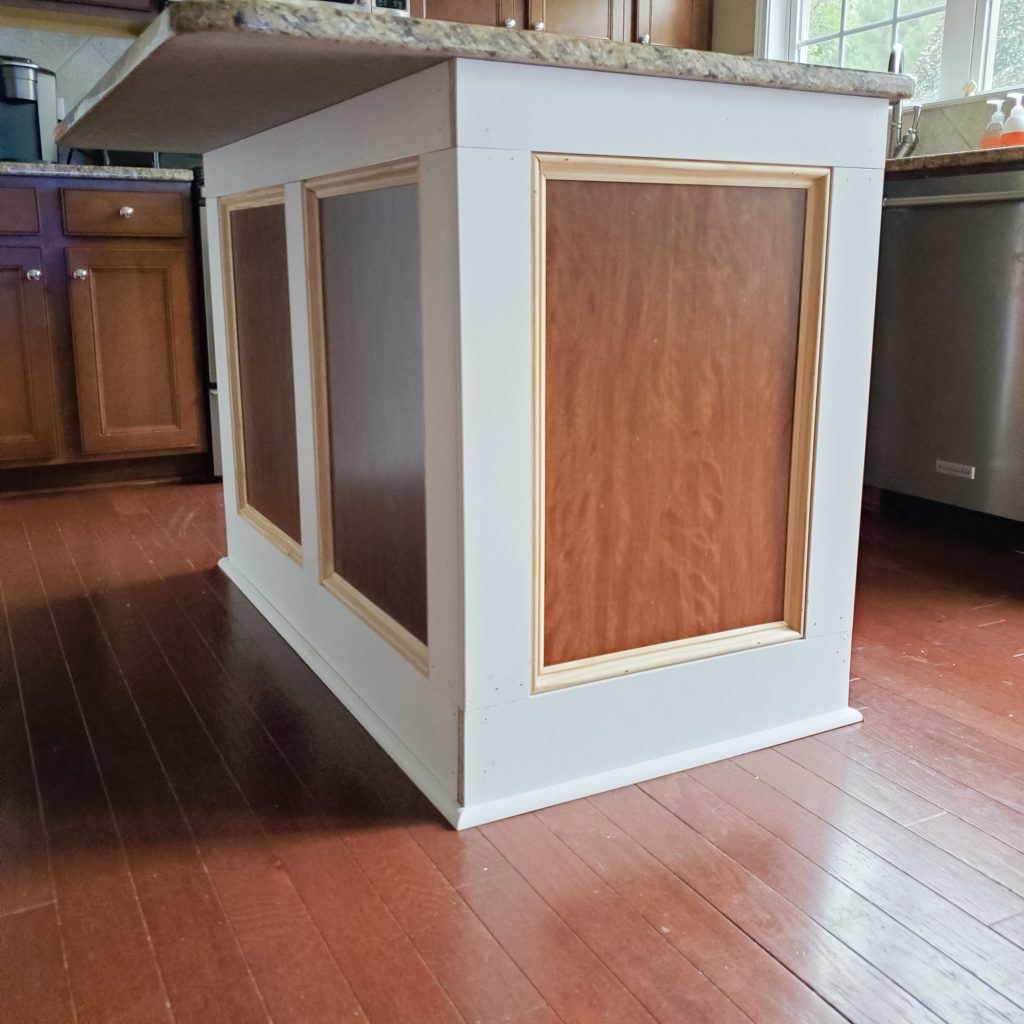
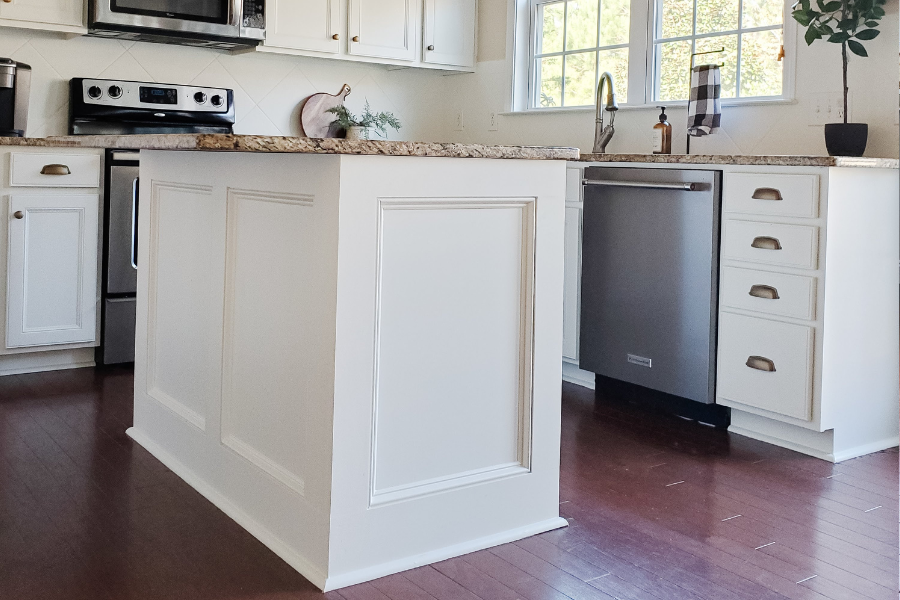
Now you’re ready to add the trim! I started by adding a 1×6 around the bottom and 1x4s around the top and verticals. If you have a brad nailer you can use it but at the time I just used a good old hammer and 16-gauge brad nails. If you use a hammer then you will also need a nail punch to drive the head of the brad nail below the surface of the wood (you will fill in the holes later).
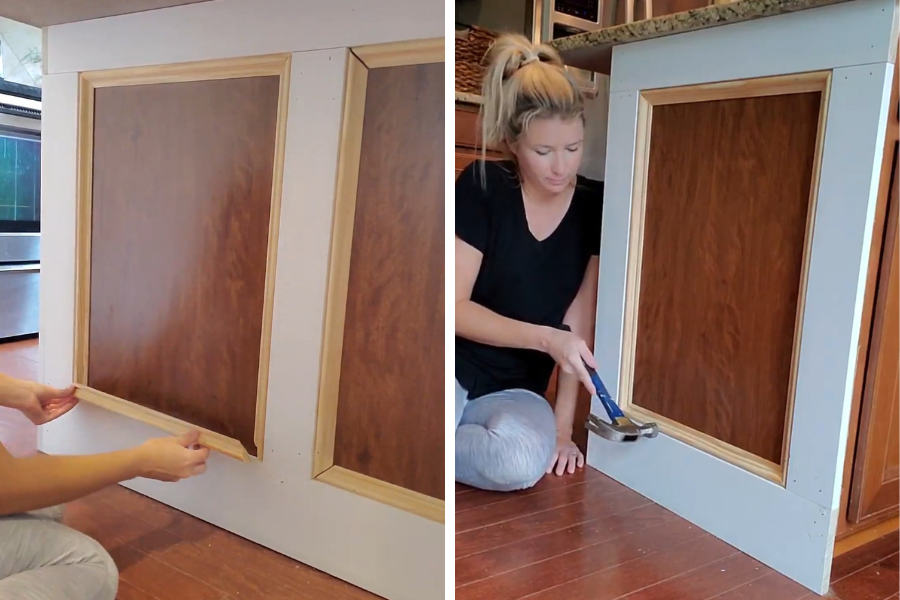
Next, I added base cap moulding (aka picture frame moulding) on the inside of each “square” to give it a more decorative feel. You can skip this step if you prefer a cleaner, more modern look.
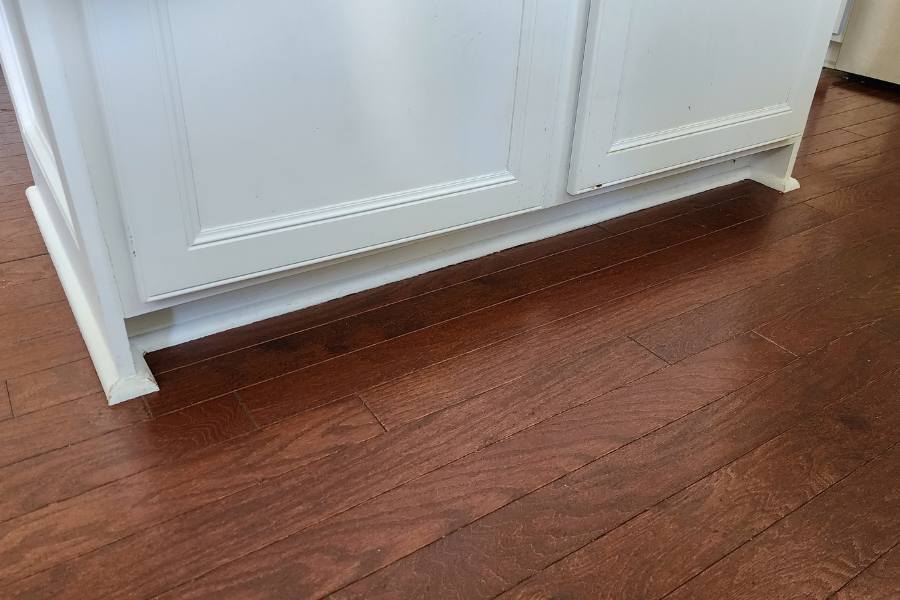
I then added shoe moulding that was the same size as the original shoe moulding around the base. I still used just a hammer and brad nails to attach it. For the toe kick area, I went around the 1×6 completely. This matched how my builder styled other areas of my kitchen (see image below).
Filling and Painting
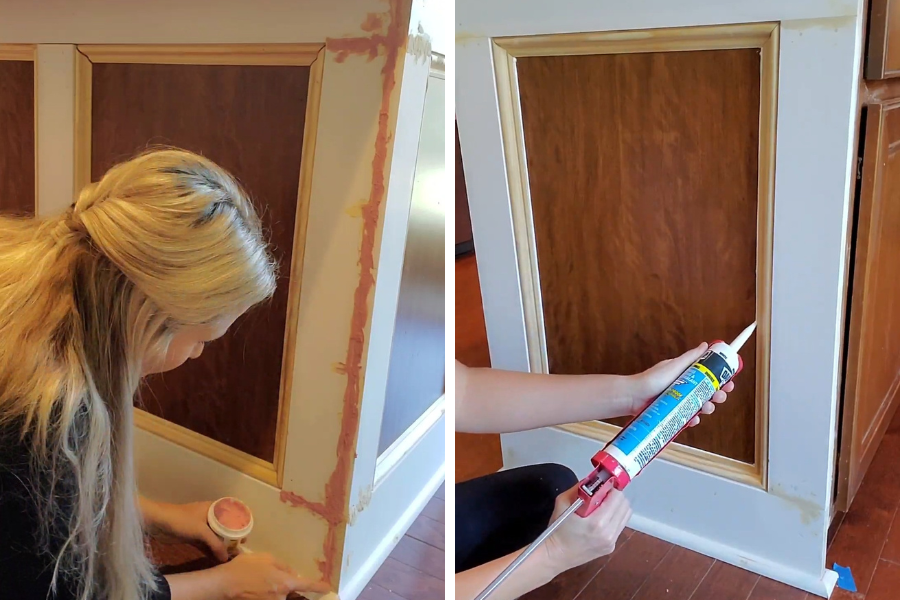
Before painting, I filled in where the boards meet with wood filler and also filled in all of the nail holes. I used my orbital sander with 120-grit paper to sand the filler smooth. In hindsight, since I was painting this and not staining, I could have used spackle instead. Spackle is easier to sand, can be “wet sanded” with a sponge, and thus doesn’t make as big of a mess.
Next, I caulked all of the seams with latex caulk.
Painting
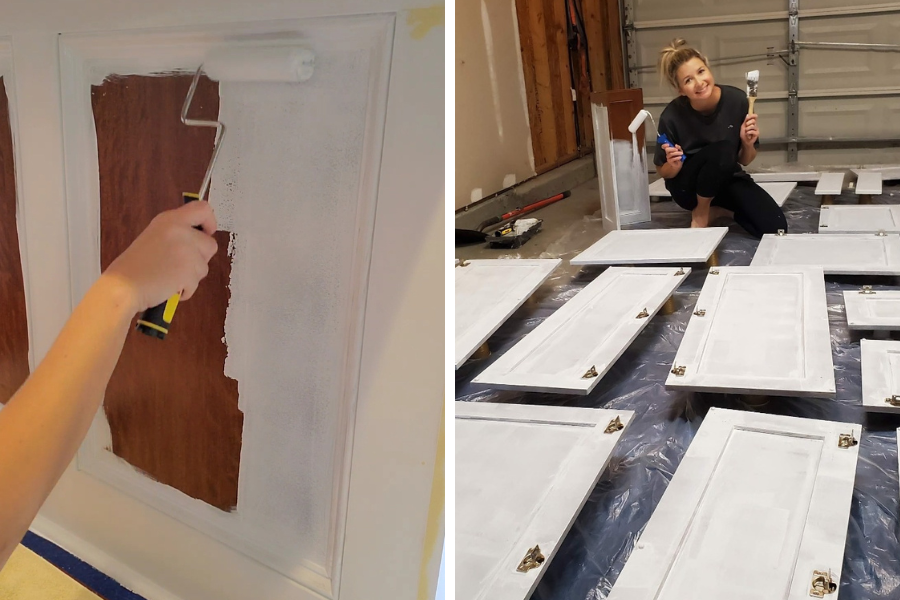
Finally time to paint! I first cleaned the existing cabinetry with Trisodium Phosphate to make sure all of the years of grease and dirt was gone. Next, I primed everything with a cabinet-grade bonding primer. I used a brush for the detailed areas and my favorite rollers for the large areas .
Once that was dry I painted with Sherwin Williams Emerald Urethane in a Satin finish. I used the color Alabaster. Using a high quality cabinet paint that is self-leveling is the KEY to a professional finish! I used a soft, high quality purdy brush for the detailed areas and once again, I used my favorite rollers for the large areas. I wound up using 2 coats and eventually went on to paint the rest of my kitchen cabinets (blog post to come!).
I took the doors and the drawer fronts off and propped them up on some old paper cups to paint them in my garage.
What do you think of the final result? This simple project completely elevates the whole kitchen. I know all of my cabinets are painted in the reveal too but even never underestimate the power of trim work! If I had just painted the builder-grade version it would not look this high-end.
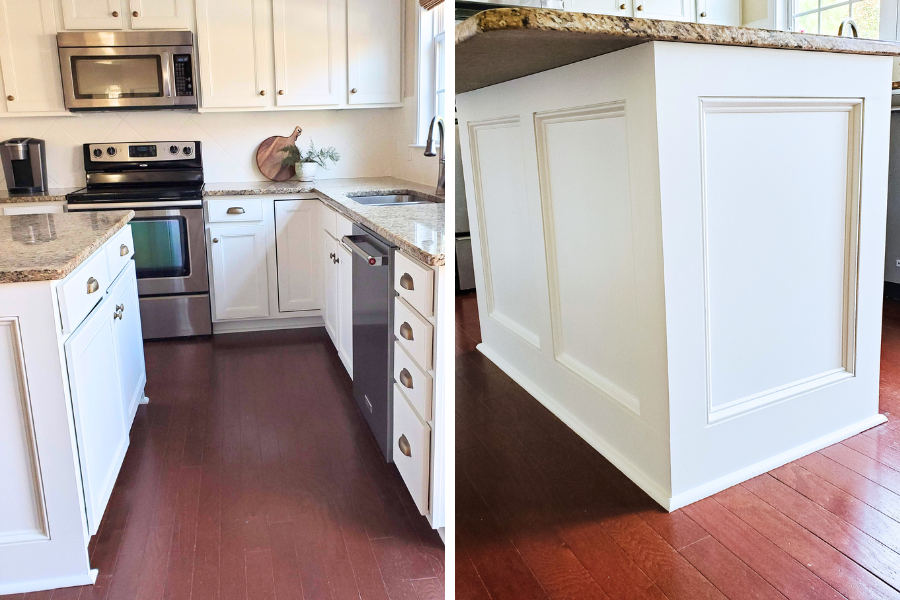
This post was all about how to DIY upgrade your kitchen island. With just some simple trim work and paint you can completely transform your kitchen!
OTHER POSTS YOU MAY LIKE:
“How to DIY Paint Your Kitchen Backsplash So It Lasts For Years”

