Want to know the most budget-friendly way to upgrade your kitchen backsplash tile? Whether you are just buying time until you can replace your backsplash or you want something that will stand the test of time, this is the simple tutorial for you to use the power of paint to transform your kitchen a day!
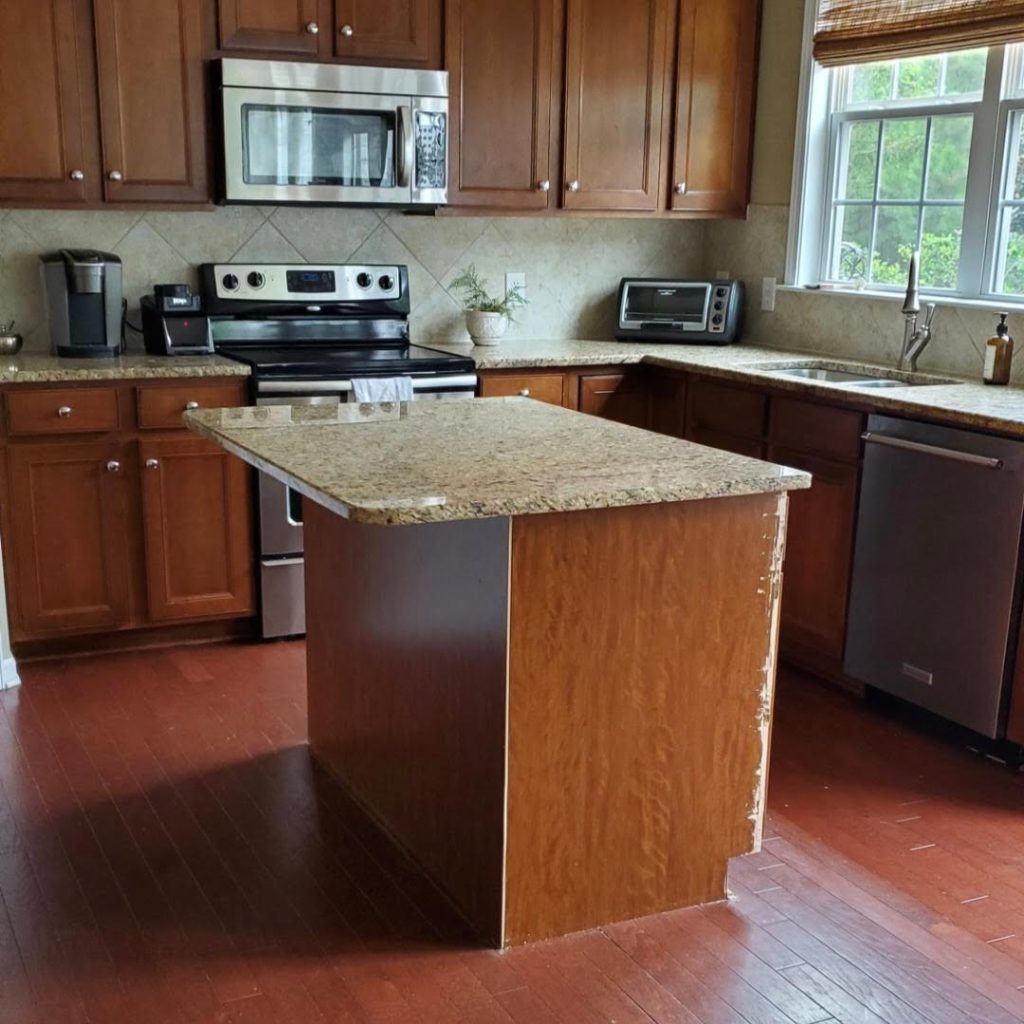
We all have had something in our house at one point or another that has bossed us around. No, I’m not talking about your 5-year old. I’m talking about a pattern or color that is calling all the shots and makes having a cohesive, aesthetically pleasing space super challenging! In my kitchen, the busy tuscan-gold granite (all the rage in the early 2010s) and the equally busy builder-grade tile backsplash were making my brain spin trying to pick wall colors and bring harmony to the space.
Here’s the truth…there can only be one bossy pattern in a space…especially if the patterns are right up next to each other. Since I couldn’t afford my dream kitchen with new countertops and backsplash, I decided on the budget-friendly option of good ole’ paint! When you’re staring at your kitchen, countertops don’t stand out as much because they are horizontal to your field of vision. You’re backsplash actually takes up a lot of visual real estate! This is such an easy transformation that can be finished in a day!

That is actually the same white paint on the cabinets in these two photos (Sherwin Williams Alabaster in Satin sheen) but the photos were taken at different times of the day. I used the same paint and process on the backsplash as I did the cabinets.
I know you’re probably wondering “will this last”? Kitchen backsplashes get a lot of splatters. I was especially concerned about the always wet area behind my sink. However, I am actually writing this post a year and a half after I did this and it STILL looks as good as the day I did it! The secret is the TYPE of paint you use! This technique can be used on any type of tile (shiny, matte, etc.).
What you’ll need:
- Sandpaper (I used 120-grit)
- Bucket and rag
- Rubber Gloves
- Painter’s Tape
- TSP (trisodium phosphate)
- Paintbrush
- Mini flocked foam roller
- Bonding Primer
- Urethane paint (I used Sherwin Williams Emerald Urethane Trim Enamel) Satin Finish
- Red Rosin Paper or plastic/canvas drop cloths to protect countertops
PREPARATION
I sanded the tile first before cleaning so I wouldn’t have to clean multiple times. My tile wasn’t that dirty and it is a matte finish. If your tile is glassy/glossy then you might want to scuff a little harder but I didn’t take too much time with this step. I used a 120-grit sandpaper sheet wrapped around a block of scrap wood (you can also wrap them around old sanding blocks from the hardware store). I just gave everything a nice little scuff.
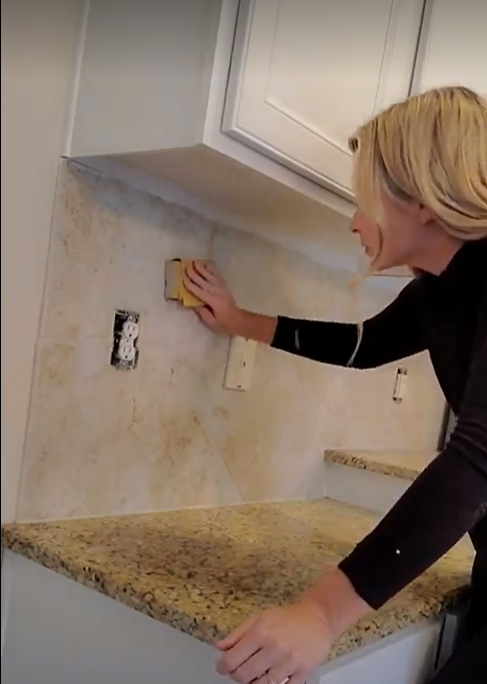
Next, I gave the backsplash a good scrub with TSP (trisodium phosphate) and a rag. I mixed the TSP powder in a bucket with water and wore rubber gloves. TSP is an excellent degreaser and cleaner and will ensure that your tile is squeaky clean for ultimate adhesion. After scrubbing, I wiped and rinsed it all over with just water and a rag.
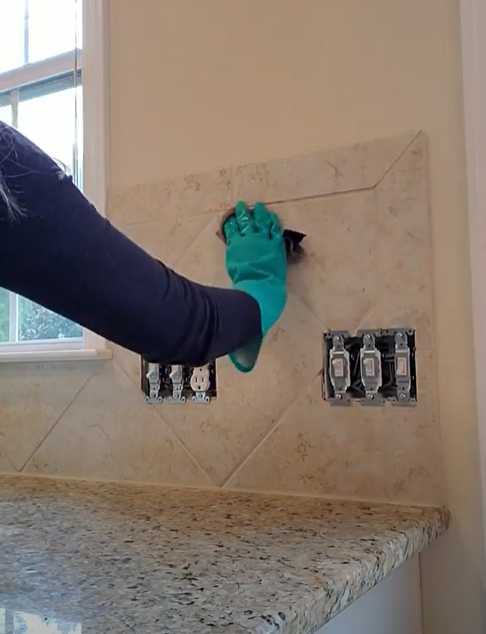
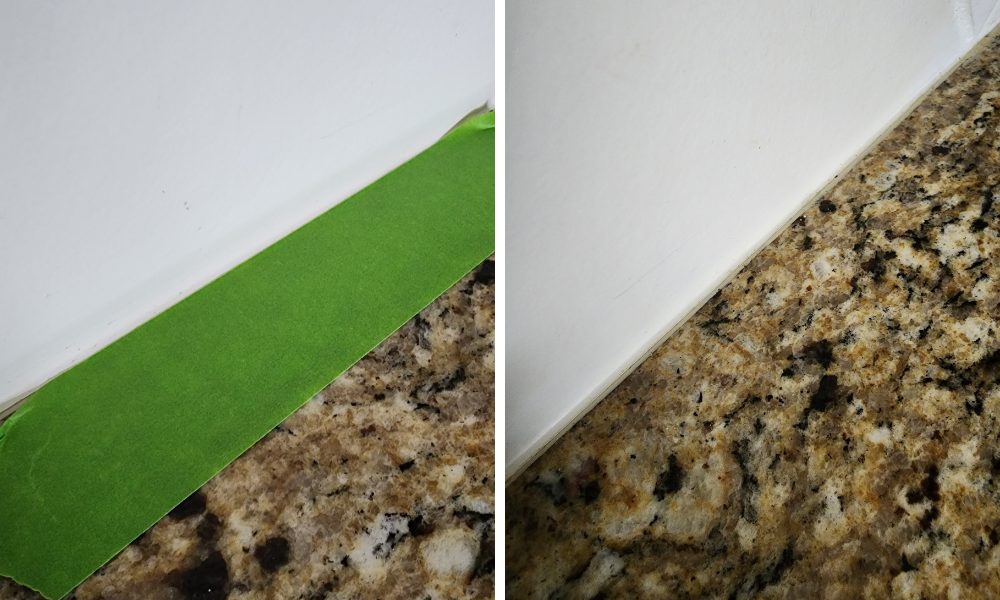
After your tile has dried, add painter’s tape to area of caulk where the tile backsplash meets the countertop. I put the tape so it is straight and flat on the countertop. You will be painting the caulk/grout and this will give a nice, crisp line. Important: do not remove the tape too soon after painting! Allow the paint to dry first. I made the mistake of pulling the tape before it was dry and it peeled some of the paint with it so I had to go back and repaint that spot.
PAINTING YOUR KITCHEN BACKSPLASH TILE
Now, the fun part! First, apply the bonding primer to all of the grout/seams with a brush (the places where the roller can’t get). Then you can immediately go back with your roller on all of the flat parts. I used red rosin paper to protect my countertops because it’s easier to work with than drop cloths. You can cut it to size and the straight edge fits right up next to the backsplash. Check as you go for any drips in the seams that need to be smoothed out.
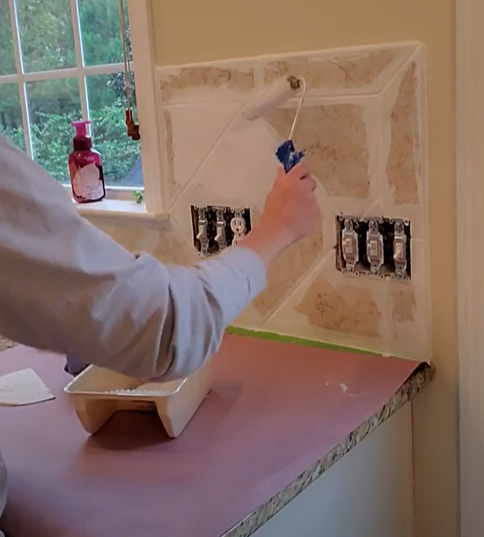
This bonding primer dries really fast (less than an hour). Be sure to use bonding primer made for cabinets! This is the same exact primer and paint that I used on my cabinets. It will look bad at this stage so DON’T PANIC. Primer always looks really ugly and thin. Here’s what it looked like after priming:
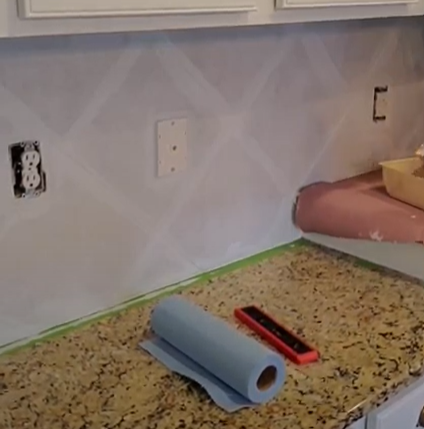
Once your primer is fully dry repeat the same process with the paint. I used two coats of the Sherwin Williams Emerald Urethane Trim Enamel. I used the color Alabaster in a satin sheen. This is the exact same color and sheen I used on my cabinets. I also eventually painted the walls, trim, doors, and ceilings Alabaster as well. It is a lovely warm white that plays nice with my yellow Tuscan granite that I hope to replace one day. TIP: if you choose a white paint color then EVERYTHING that is white in the room MUST match! I don’t make the rules but I tried to break this one and it didn’t work. Your eyes will notice the difference.
IMPORTANT: this urethane trim enamel is self-leveling. This means that after you apply the paint, it will very soon start getting to the tacky stage and if you mess with it then it will streak. Therefore, when applying the paint, you must first brush the grout lines and then roll but do this at the same time in small sections so you don’t go over the paint when it starts to get tacky. Notice how I have my brush and my roller with me at the same time:
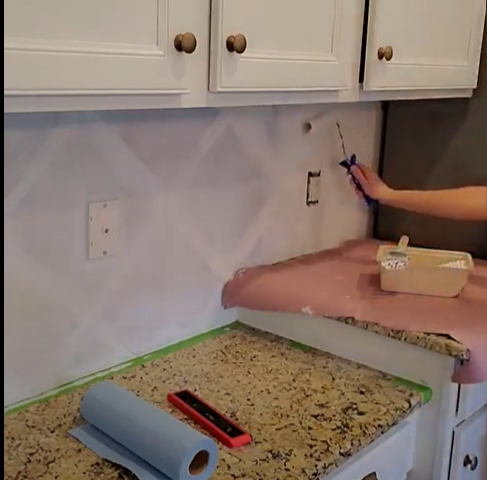
After the first coat of the urethane trim enamel was dry, I applied a second coat in the same way and that’s all there is to it! As I said previously, upon writing this blog post it has been a year and a half since I painted this backsplash and it still looks like the day I did it! I can scrub it with a rag and even use cleaner on it occasionally.
The wet area behind my sink was where I was really concerned about it peeling but it hasn’t budged! Even the paint that is on the caulk has not been wiped away!
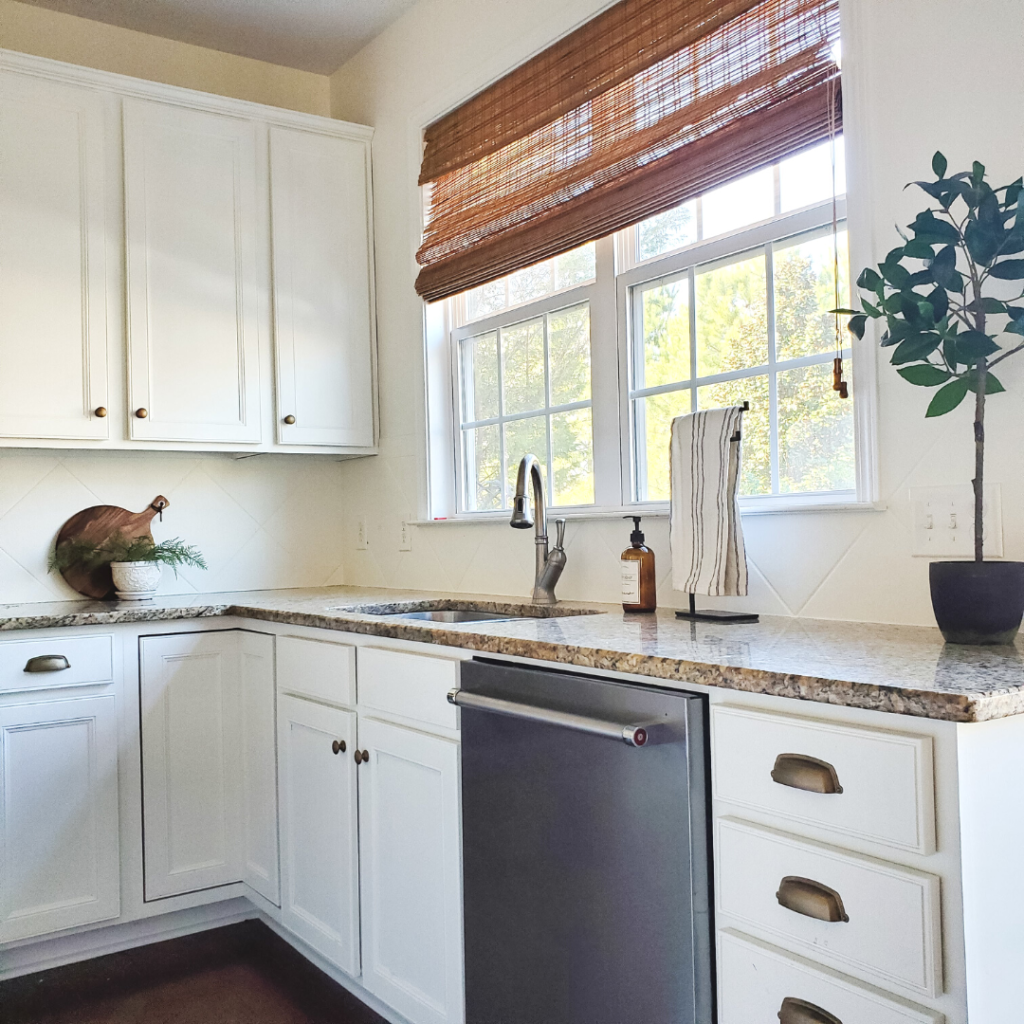
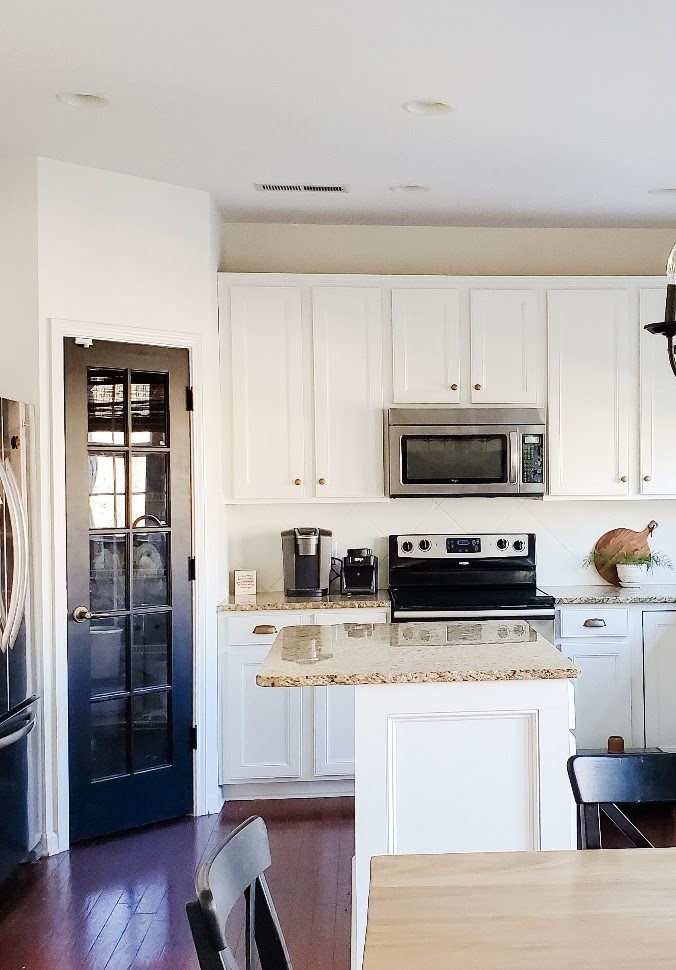
Let’s just take a moment to appreciate how far this kitchen has come with mostly paint! Here’s where I started:
The power of paint never ceases to amaze me! This post was all about how to paint your kitchen backsplash tile to save money.
*This post contains affiliate links, so I may earn a small commission when you make a purchase through links on my site at no additional cost to you.

