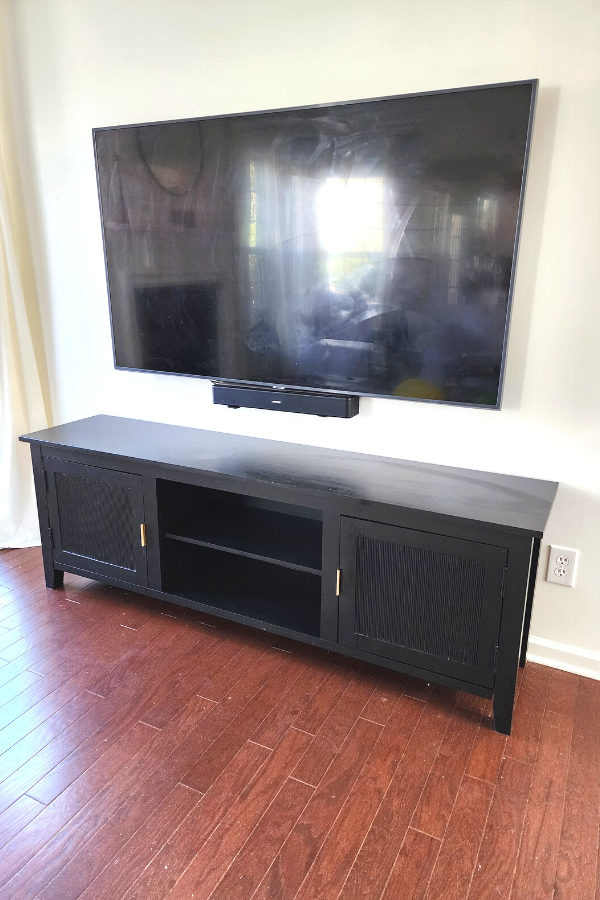
Want to know an easy way to DIY upgrade your TV console furniture instead of buying an expensive new one? Here is the simple tutorial you need to know about to save you money by reusing your current TV cabinet!
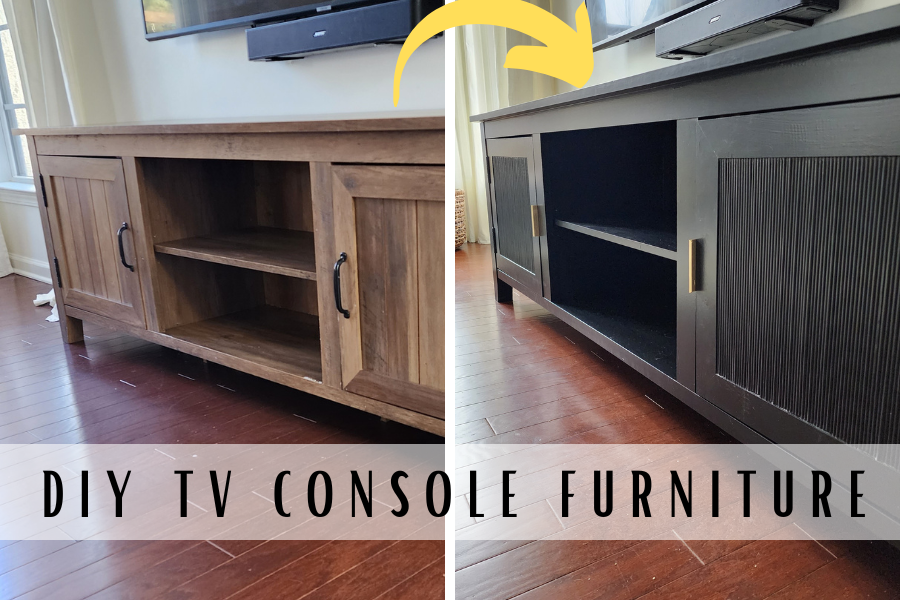
TV console furniture shopping is the WORST! It’s so hard to find the style and size you want (mine is 70″) at an affordable price! Here I am showing you an easy way to work with what you got!
This post will show you the exact steps I took to upgrade my TV console table from farmhouse to a more vintage modern vibe.
TV CONSOLE FURNITURE UPGRADE
SUPPLIES USED:
- wooden dowels (I used 3/16″ to fit inside my door insets that were 1/4″ deep)
- miter saw (miter shears or a miter box would also work for this size)
- latex caulk
- wood glue
- bonding primer
- spackle or joint compound if filling hardware holes
- 220-grit sandpaper
- Sherwin Williams Emerald Urethane Trim Enamel Satin Finish in Tricorn Black
- My favorite rollers
- paint brush
- Brass finger pull hardware
STEP 1: ADDING THE WOODEN DOWELS TO THE CABINET DOOR INSETS
Here is the picture of the before:
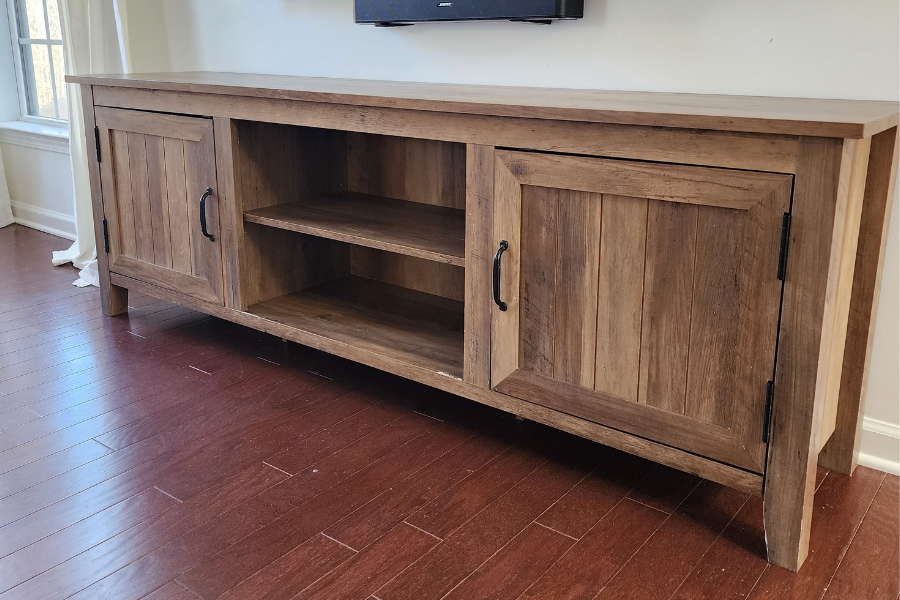
Not bad by any means! I bought this online 5 years ago and I was never quite satisfied with how the color went with my reddish toned floors. They still sell it and you can check it out here if you’re interested. Full disclosure, I think these furniture pieces are so overpriced for the quality that you get!
You can see in the above picture that the legs, middle shelf, and top were getting scratches on them where the faux finish is rubbing off. I was ready for a change and since the farmhouse style is going out I decided to upgrade it to a more vintage modern style.
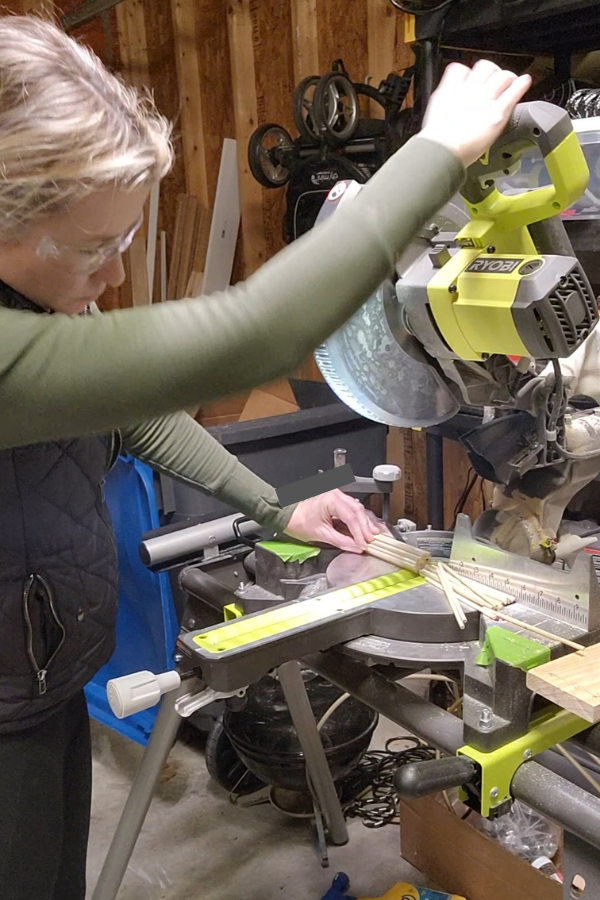
I cut my wood dowels on my miter saw in groups to save time by tying both ends with a clear hair elastic (Bob Villa would never..hah!). You should be able to use miter shears or a miter box if you don’t have a saw but I haven’t tried on dowels. I can’t remember the exact total amount of dowels that I needed for my TV cabinet door insets but it was a lot (70ish?). My insets were 1/4″ deep so I used 3/16″ diameter dowels so they would be slightly recessed in the insets.
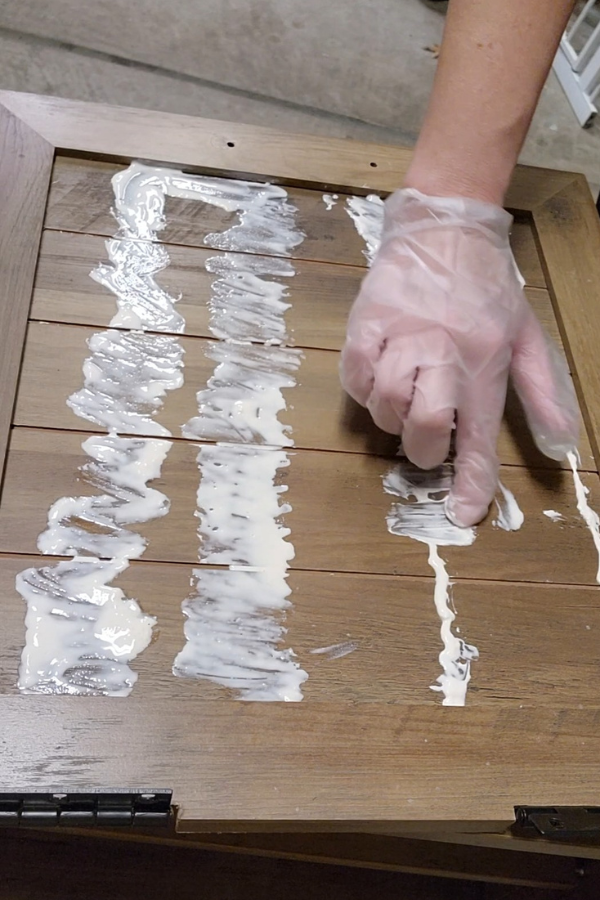
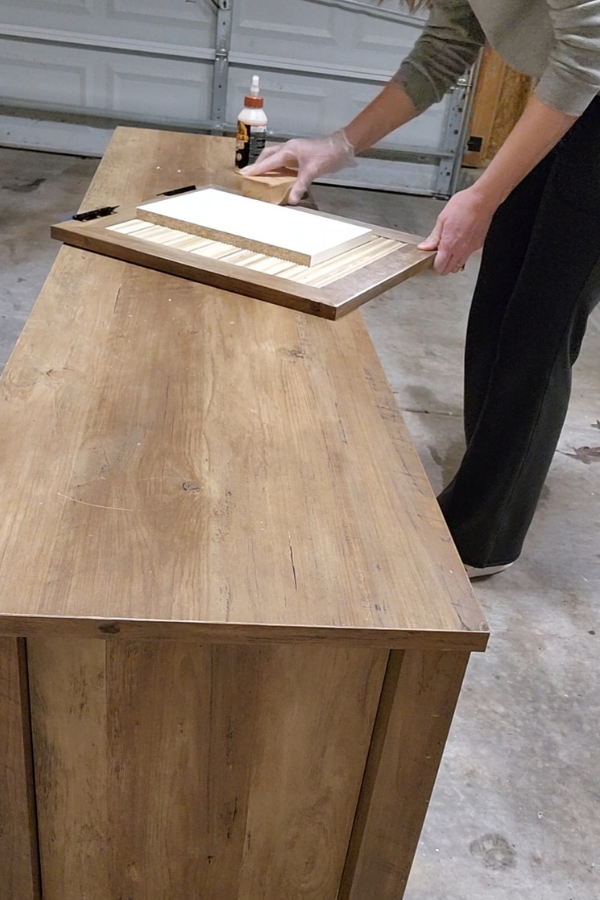
Once the dowels are cut, you can just use wood glue to glue them in place on the TV cabinet doors. I then laid a piece of wood on top to keep them level while the glue dried.
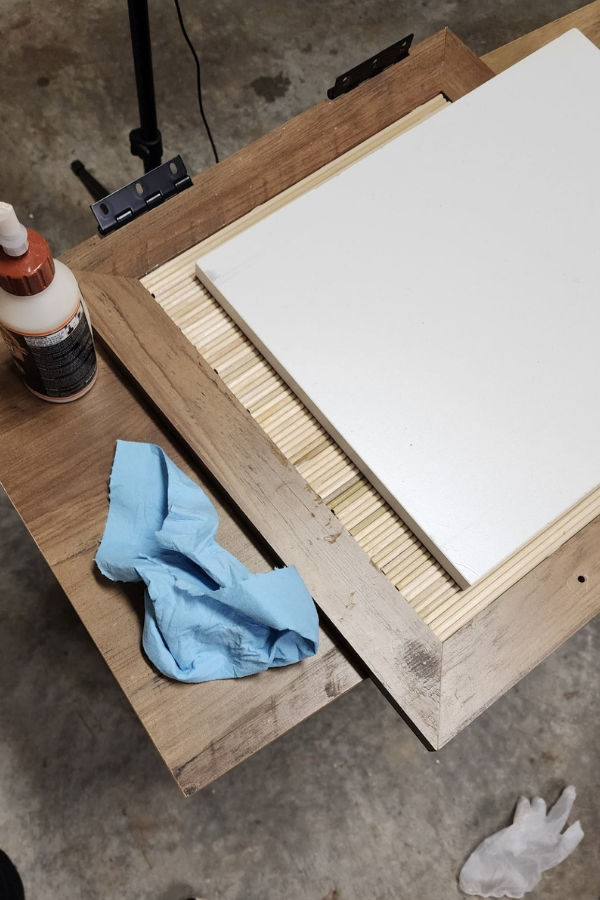
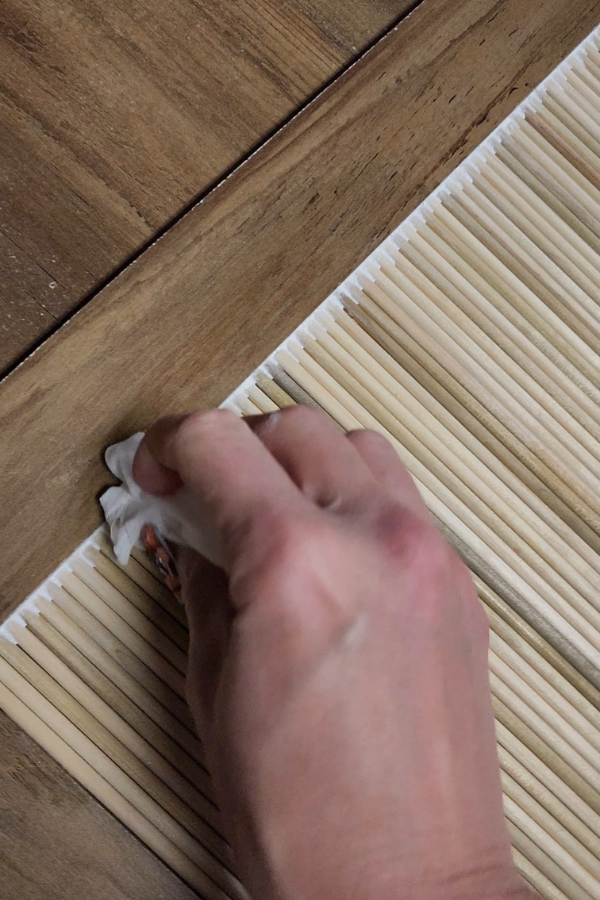
Next, I used latex caulk to fill in the space at the top and bottom of the dowels and to make it look smooth and cohesive. I did not fill caulk beside each dowel lengthwise…because not only would that take forever and make a mess but I found that just being heavy handed with the primer and paint was sufficient to make them look even with the caulked ends.
After applying the latex caulk I used a wet shop towel and baby wipes to smooth it out. I found I needed to layer it in some spots that had larger gaps (whoops) because caulk shrinks as it dries. You have to be a little artistic with it.
STEP 2: PAINTING THE TV CONSOLE TABLE
First you want to lightly sand your TV console with 220-grit sandpaper. My TV console cabinet had a faux, paper-like finish on it so it really needed to be scuffed up so the primer and paint will last. Definitely don’t skip this step! I also filled the holes with spackle where the handles were since I wanted to change them.
Once you’ve vacuumed and wiped all the sanding dust away, it’s time for a quality primer. I used a bonding primer that I had leftover from my kitchen cabinet paint job. For Ikea-grade furniture like this you need to use a bonding primer or shellac-based primer for extra adhesion or your paint will chip.
You can use a sprayer but I actually think a paintbrush and roller are faster (not as much prep work and cleanup).
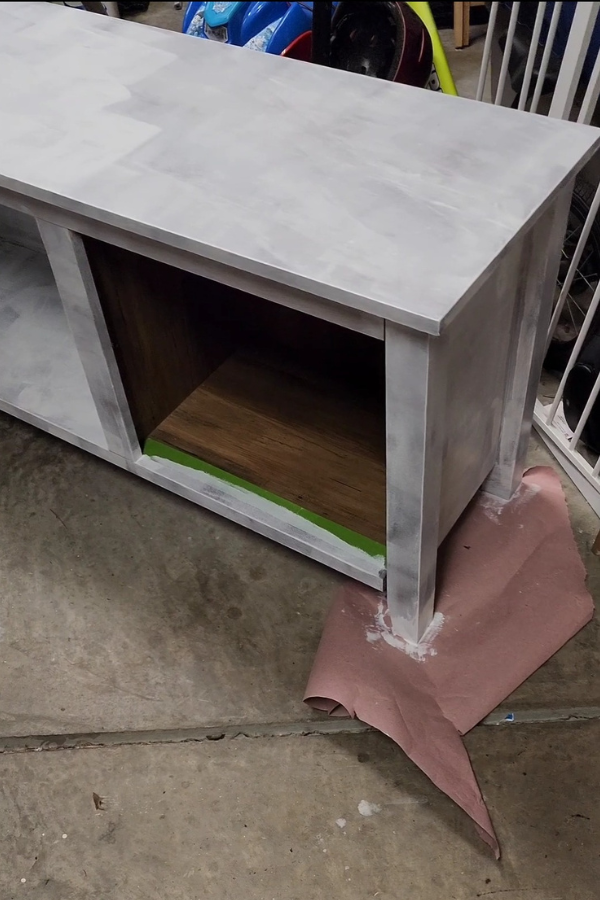
I used painter’s tape to keep the inside of the cabinets the wood grain look.
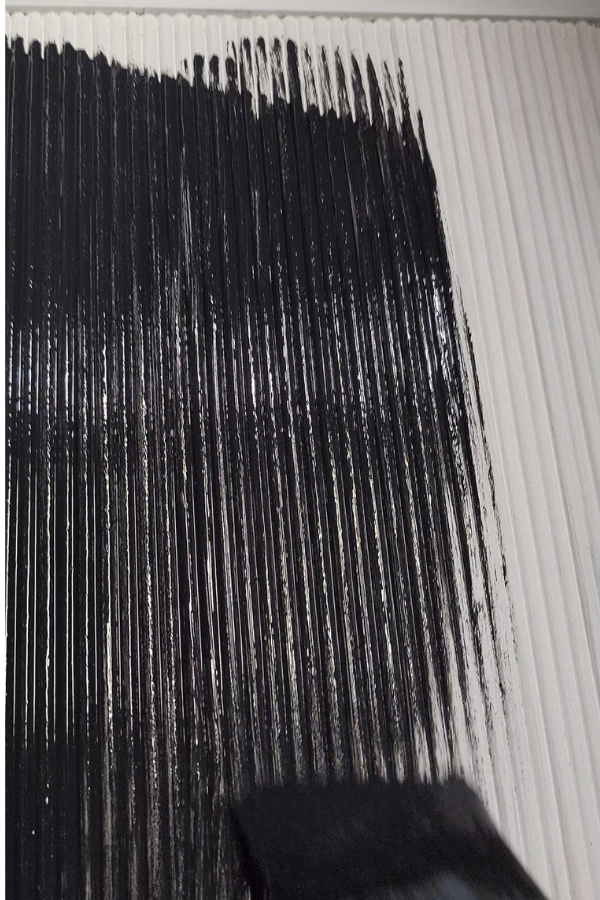
Lastly, I painted the TV console cabinet Tricorn Black by Sherwin Williams in a Satin sheen. THE TYPE OF PAINT YOU CHOOSE IS IMPORTANT! Sherwin Williams Emerald Urethane Trim Enamel is my go-to for painting cabinets and anything you want to last. Plus, it is self-leveling so there really is no need for a paint sprayer. I get a smooth finish even with using just a brush and my favorite flocked foam roller. Because this color is dark, I used 3 coats to get the finish I wanted.
STEP 3: ADD HARDWARE TO YOUR TV CONSOLE CABINET
Changing hardware is such a simple and fun way to upgrade any piece of furniture! It can really change the whole vibe! I decided I wanted a pop of brass on this all black TV console table.
I found these brass finger pulls on Amazon and they turned out perfect! You can install brass finger pulls on the top, top side, or middle side (like I did) of the cabinet door. I did a poll of my Instagram followers and the middle side placement won by a landslide!
Note: the screws that came with this hardware were terrible and stripped very easily even with pre-drilling the holes. I used my favorite small wood screws instead.
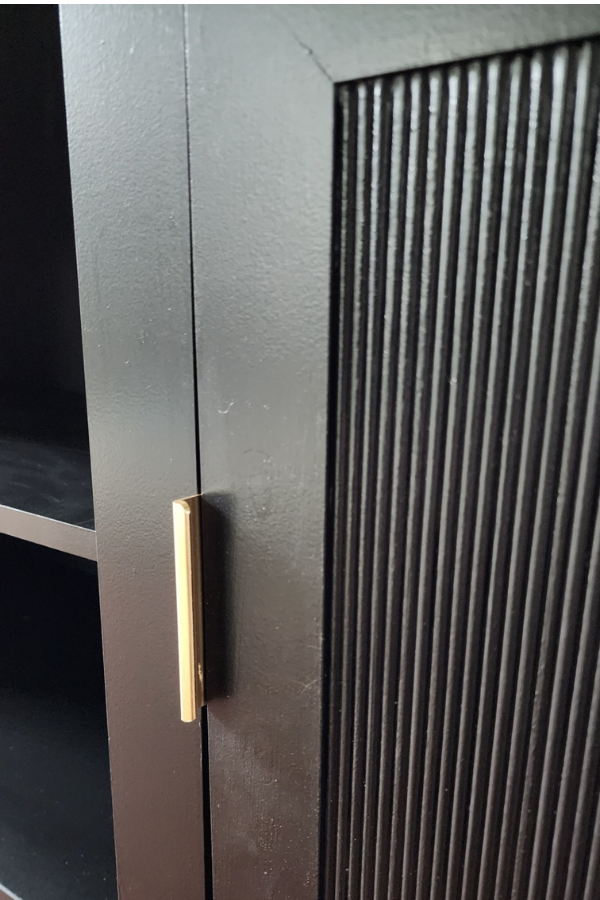
Here’s the final result:
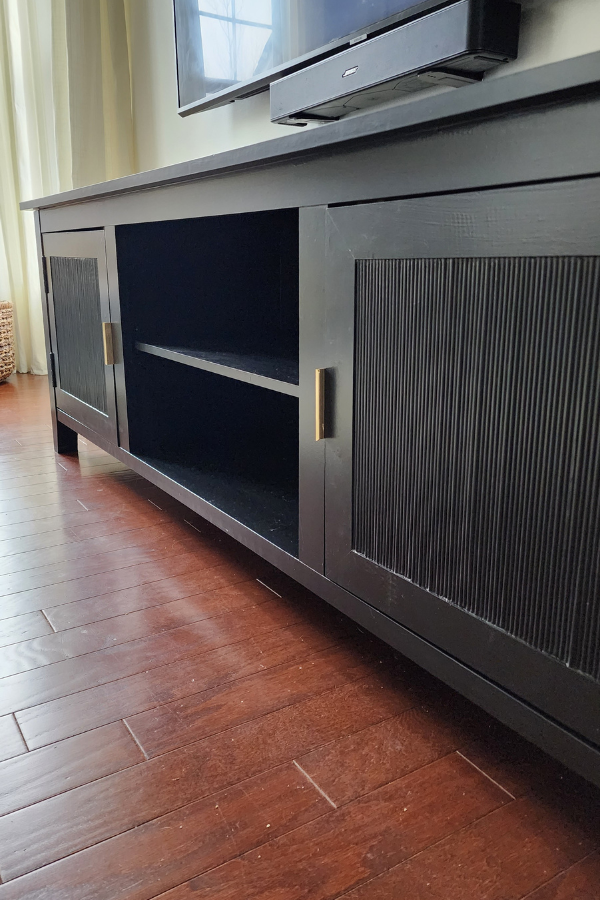
What do you think? Now I just need to add a few decorative pieces. Stay tuned, I want to create a budget-friendly, vintage modern gallery wall surrounding the TV! This wall is looking bland and needs some eye candy.
